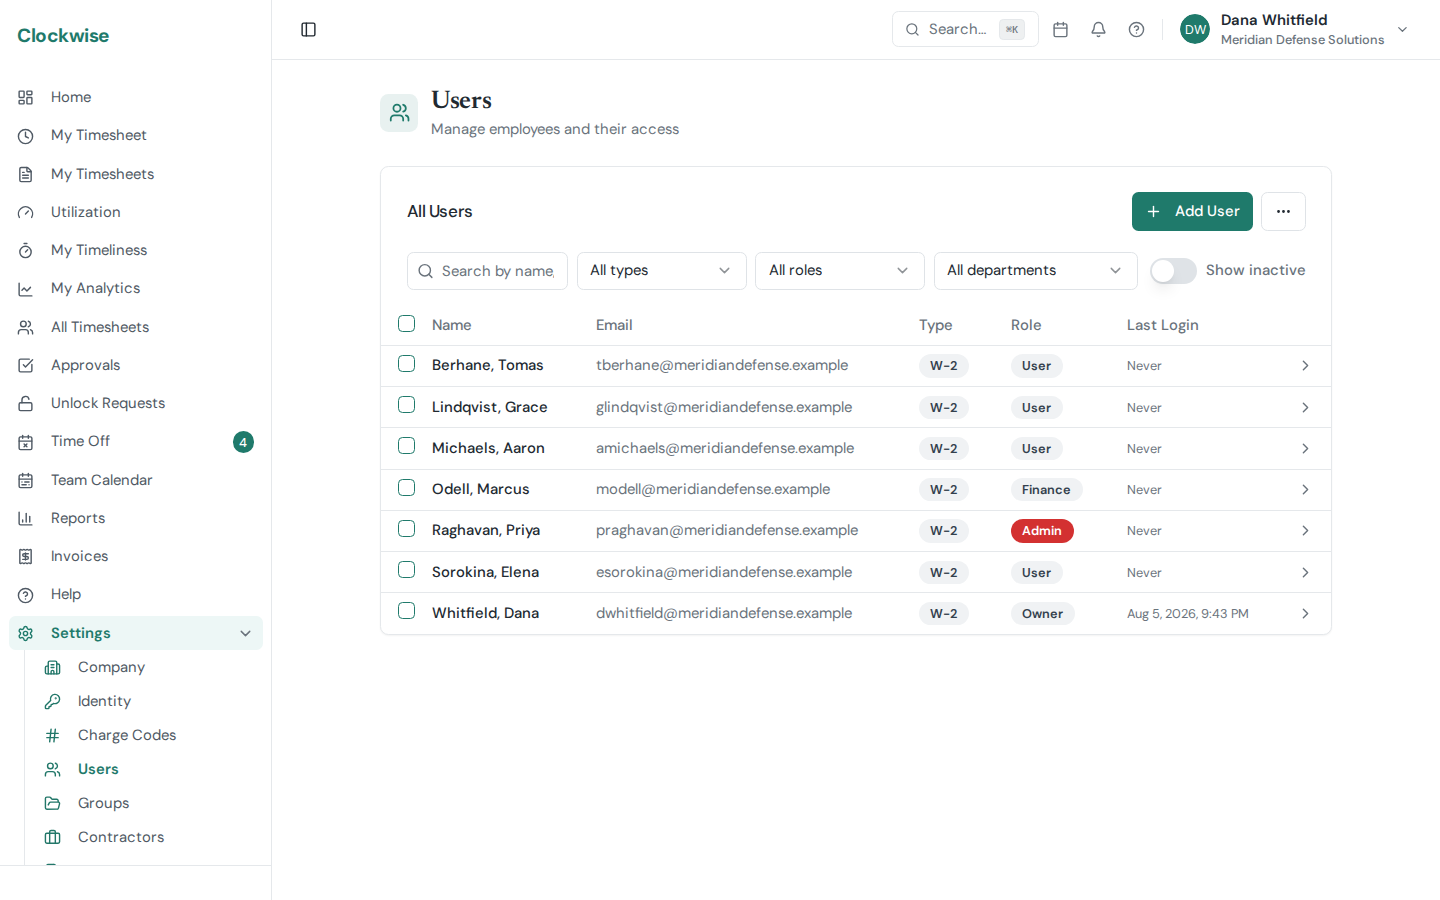
Go to Settings > Users to manage your company's workforce.
Settings → Users. Filter by type, role, or department, and toggle Show inactive to include former employees.
Adding a User
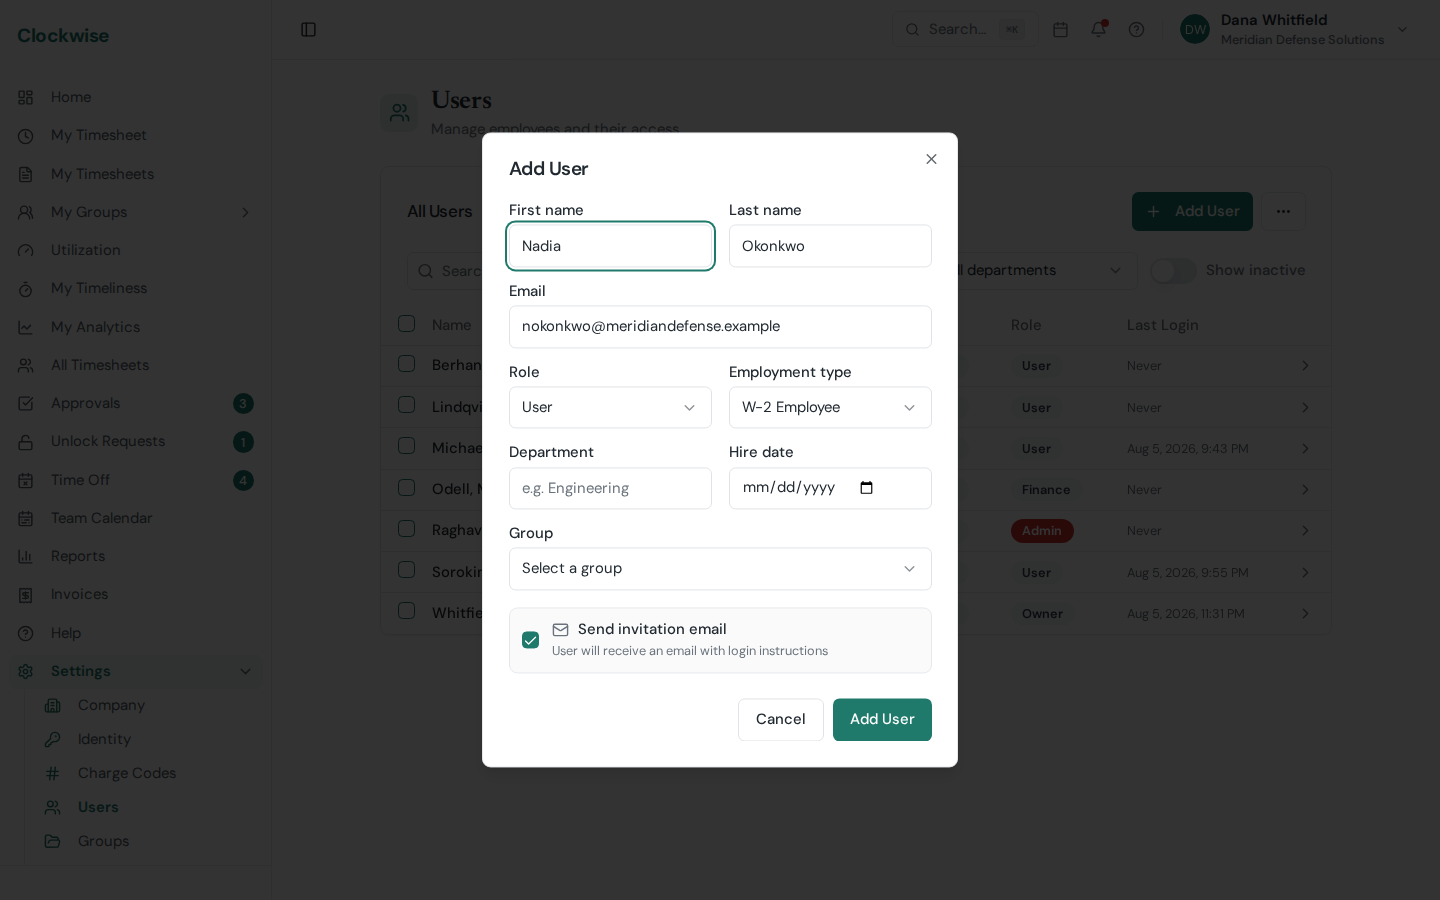
Add User. Role and employment type drive what the person can do and which policies apply; the group determines who approves their timesheets.
Admins, Owners, and Finance users can click Add User and fill in their details:
Name and email — Required fields.
Role — User, Finance, Operations Support, or Admin (see the Roles & Permissions article for details). Finance users can only pick User or Operations Support; Admins and Owners see the full list.
Employment type — Employee or Contractor. If Contractor, you can assign them to a contractor company.
Department — Optional, for organizational grouping.
Hire date — Optional, for record-keeping.
When you create a user, you can choose to send an invitation email that lets them set up their account and log in.
Bulk Import (CSV)
Admins and Owners can click Import CSV to add multiple users at once. Clockwise provides a downloadable template with the expected columns. After uploading, you'll see a preview of the data with any errors highlighted per row so you can fix issues before confirming the import.
Editing a User
Click any user in the list to view and edit their details. From the user detail page you can also:
Assign charge codes — Control which codes this user can log time against, with optional start and end dates.
Manage leave balances — Set allocations and adjustments by leave type and year.
Change their group — Move them to a different approval group.
Search
Use the search bar to filter by name, email, or department.